16 Essential Beginner Keyboard Shortcuts for DaVinci Resolve 18
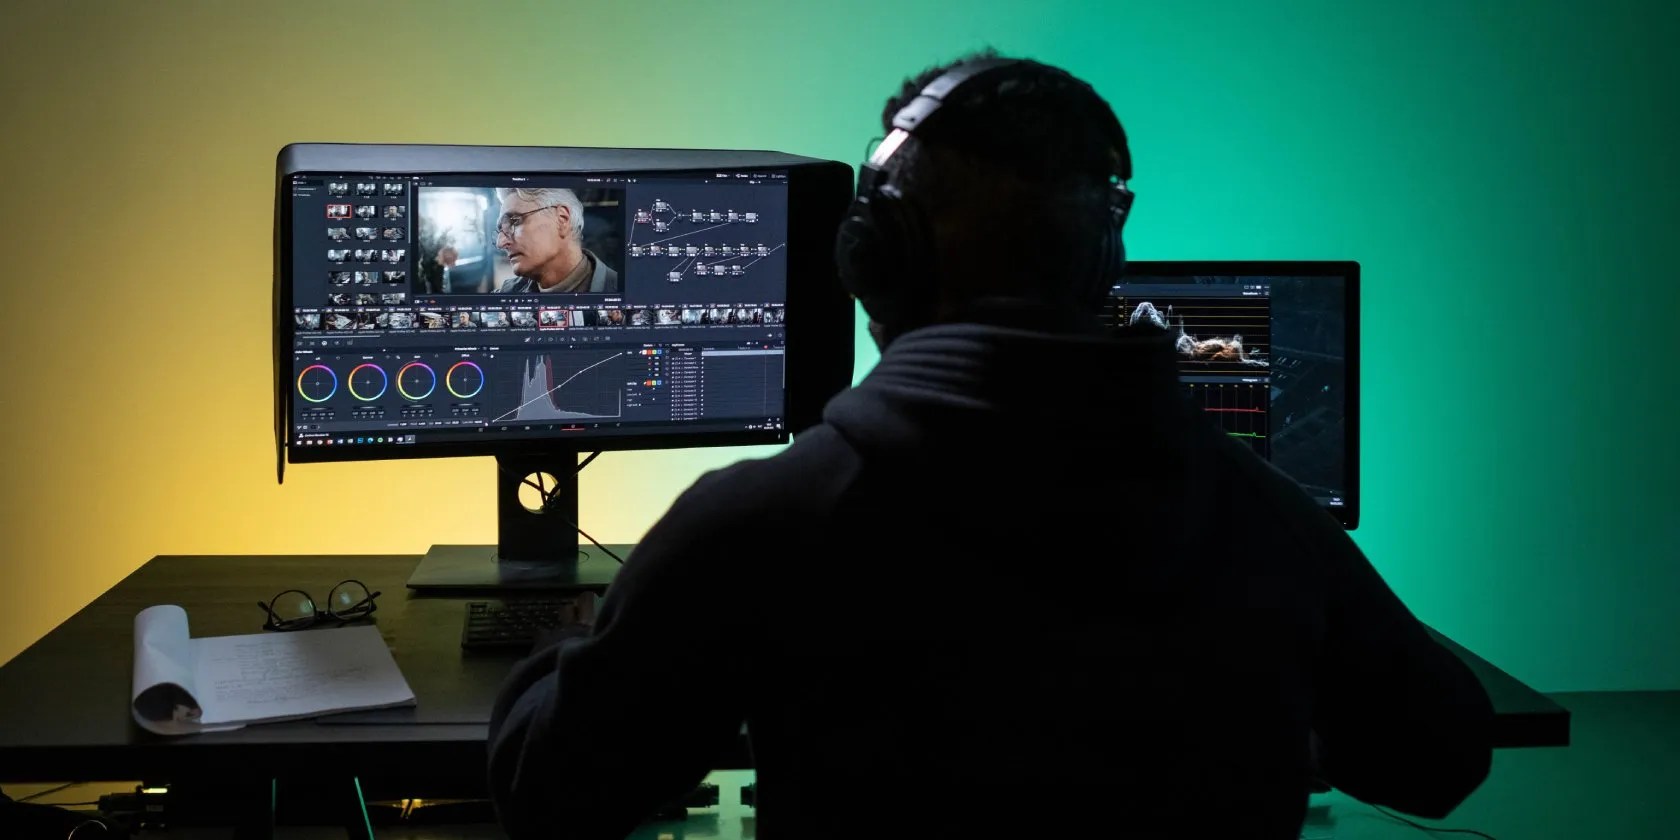
Photo from Pexels; no attribution
https://www.pexels.com/photo/a-man-sitting-on-front-of-the-computer-while-editing-video-8102677/

As a video editor just starting out, it can be a bit overwhelming learning all the ins and outs of editing software. Luckily, DaVinci Resolve is a great program for any beginner to grasp.
And like any other video editor, DaVinci Resolve also has an abundance of shortcuts to help speed up editing. Any beginner should and most definitely can learn these shortcuts quickly.
Below are 16 frequently-used shortcuts to help you edit faster than ever before.
The Importance of Keyboard Shortcuts
Video editing is already an all-consuming process. With that being said, using shortcuts is one of the best ways to help you work more efficiently.
Additionally, knowing shortcuts will help you be productive by not wasting so much time on finding buttons for simple video editing procedures. I’ll give you the time you need to create the best videos ever.

Photo from Pexels; no attributionhttps://www.pexels.com/photo/person-using-macbook-pro-on-white-table-5054208/
Keyboard shortcuts can also help to reduce the strain on your hands. For example, instead of right-clicking and scrolling through the options to find retime controls, you can simply press two keys, and it’ll pop up over the selected clip. If you have a quick shortcut that does the trick for you, your hands will thank you.

Keyboard Shortcuts
DaVinci Resolve’s keyboard shortcuts, sometimes called hotkeys, are a combination of keys that are connected to specific tools in the software. When used efficiently, they can help to enhance your editing skills and allow you to work quicker.
The shortcuts below are for both Windows and macOS.

1. Add Transition
Adding transitions to a video is important because it allows the video to move seamlessly from one scene to the next.DaVinci Resolve has an abundance of premade transitionsavailable, but if you’re just looking for a simple transition, there’s a shortcut readily made for that.
Screenshot by Sam Wolfe; no attribution
Make sure the connected area between the two clips is highlighted for the transition. Type:Cmd/Ctrl + T.
2. Add Audio Keyframe
Let’s say you want to add keyframes to your audio, so you’re able to adjust the volume throughout the clip. Instead of pressing the keyframe button multiple times, you can use a quick shortcut.
ensure the cursor is where you want your first keyframe. TypeCmd/Ctrl + [. Adjust your keyframe according. If you need more keyframes after or before, use your arrow keys and use the shortcut again.
3. Delete Audio Keyframe
If you find that you placed too many audio keyframes in your clip, deleting them is simple.
Highlight the keyframe you want to be deleted. TypeOption/Alt + ].
4. Retime Controls
Retime controls are a useful feature on DaVinci Resolve. You have the ability to change the speed of a clip, reverse it, and even add a speed ramp.
Select the clip you want to open retime controls on. TypeCmd/Ctrl + R. After clicking on the little down arrow button, the tab will open and reveal a bunch of different options to play with.
5. Add New Bin
Bins are a great way to keep your clips organized. TypeShift + Cmd/Ctrl + N. A new bin will pop up under the Master bin, ready to be renamed and used.
6. Add New Timeline
Adding a new timeline is great when you need to work on multiple videos within the same project.
To open a new timeline, typeCmd/Ctrl + N. From there, you can change some of the settings. UncheckUse Project Settingsfor more options.
7. Save Project
It’s understandable why anyone would want to know how to quickly save their project. Here’s a quick shortcut to check that you don’t lose any of your work.
TypeCmd/Ctrl + S.
8. Add Marker
DaVinci Resolve’s Edit page has some pretty cool features, and adding markers is one of them. Timeline markers are a good way to mark specific spots in a clip or on the timeline itself.
If you want to place a marker on the clip, verify the clip is selected. If you want a marker on the timeline, click outside the clips. Your cursor will need to be over the area you want the marker to show up.
TypeMto place your marker. If you typeMagain in the same spot, the marker’s tab will open, allowing you to customize it.
9. Mark In and Out
Marking a clip in and out means that you are choosing to work with only a certain part of a clip instead of the whole thing.
To mark a clip, simply typeIfor in andOfor out. From there, you’ll be able to drag that section of the clip to the timeline.
10. Undo and Redo
Many times, you’ll find yourself making multiple edits that aren’t fitting with the video. Instead of going through and deleting everything you did or starting over, just undo it.
TypeCmd/Ctrl + Z. Do it as many times as you need to get back to a starting point you’re comfortable with.
If you went too far in your undoing, you do have the option to redo an edit. TypeShift +Cmd/Ctrl + Z.
11. Zoom In and Out
When working with clips, especially when you need a closer look, zooming is a necessary feature. You could use the mouse and alter the view, but wouldn’t a shortcut be quicker?
To zoom in, typeCmd/Ctrl + plus sign. To zoom out, typeCmd/Ctrl + minus sign.
12. Zoom to Fit
Zoom to fit can be used in two different ways on DaVinci Resolve. If the preview window’s picture has been altered, you can zoom to fit by typingZ.
If you want your timeline clips to fit so you could see everything in one view, you can zoom to fit by typingShift + Z.
13. Snapping Tool
Snapping is when you are moving a clip around, and you need it to attach to the next clip. Without snapping on, you’ll find yourself accidentally overlapping clips and messing up your edits.
To turn snapping on and off, typeN.
Customize Keyboard Shortcuts in DaVinci Resolve
DaVinci Resolve comes with a bunch of preloaded shortcuts. However, you do have the option to change the shortcuts and add other ones to help your workflow.
Go to theDaVinci Resolve menu>Keyboard Customizationor use the shortcutOption/Alt + Cmd/Ctrl + K. From there, you’ll be able to scroll through every feature that is and can be a shortcut.
Adding a shortcut is quite easy. For example, DaVinci Resolve does not come with a pre-existing shortcut for New Compound Clips. After searching for it in the search bar, highlight the space underKeystroke.
Select the keys you want to use for the shortcut. If the shortcut is already used, the software will let you know and offer for you to cancel or assign the keystroke. Cmd/Ctrl + O is not being used, so it will be assigned to New Compound Clips.
Learn These DaVinci Resolve Shortcuts to Make Video Editing Easier
For beginners, learning new software along with shortcuts can be challenging. However, you’ll soon find that shortcuts are the way to go when you want to work quickly and efficiently.
Try using some of these shortcuts while editing your next video to see how well they can work for you.
Just because DaVinci Resolve is user-friendly doesn’t mean the learning curve will be easy. Avoid these mistakes to speed up the process.
I plugged random USB devices into my phone and was pleasantly surprised by how many actually worked.
Your phone is a better editor than you give it credit for.
Now, I actually finish the books I start.
These films will leave you questioning humanity, but also wanting more.
My iPhone does it all, but I still need my dumb phone.
