3 Ways to Screenshot Right-Click Context Menus on Linux
If you take a lot of screenshots on your computer, there are several tools that can help you do it effectively. However, most of these screenshot tools don’t allow you to screenshot right-click menus in Linux.
Sign up forfree
Forgot your password?
Create an account
*Required: 8 chars, 1 capital letter, 1 number
By continuing, you agree to thePrivacy PolicyandTerms of Use.You also agree to receive our newsletters, you could opt-out any time.

If you use Ubuntu, there are a few different ways to do this on your computer. Follow along as we check out these methods to screenshot right-click menus in Linux.
1. Screenshot Right-Click Menus Using GNOME Screenshot
GNOME Screenshot is a part of thegnome-utilspackage. It comes pre-installed on Ubuntu, and it’s what gets triggered when you click thePrint Screenkey on your keyboard to take a regular screenshot.
However, if you use GNOME Screenshot, you’d have probably already noticed that clicking thePrint Screenkey doesn’t capture screenshots of right-click menus. Additionally, unlike previous versions of GNOME Screenshot, the newer versions (40.0 and above) no longer offer the delay functionality, which once served as a workaround to capture context menu screenshots.

Thankfully, there’s a workaround to screenshot right-click menus using GNOME Screenshot. It still relies on the delayed screenshot functionality and involves creating a custom keyboard shortcut for the same on your system.
Here’s how to do it:
![]()
With the keyboard shortcut created, you can now use it anywhere to capture right-click menus. To do that, right-click on an item/empty area or open the context menu you want to screenshot and press the keyboard shortcut for the delayed screenshot action you just created.
Wait for a few seconds and GNOME Screenshot will capture a screenshot of your desired menu. To access the screenshot, go toPictures > Screenshotinside the Home directory.

2. Screenshot Right-Click Menus in Linux Using scrot
scrot is a popular CLI-based screenshot tool for Linux that lets you capture screenshots through the terminal. It’s simple and easy to use and provides enough flexibility through various options, which you can use in your commands to capture screenshots as you like.
But before you can use scrot, you need to install it first. Check out our guide oninstalling scrot on Linuxto capture screenshots from the terminal.
Once installed, open the app or system location where you want to capture the right-click menu. Bring up the terminal window and enter the following command to initiate a delayed screenshot capture:
…where5is the amount of delay (in seconds). If you want to extend or reduce the delay, change this time to your preference.
Quickly, activate the right-click menu on the app/system location you opened earlier, and scrot will capture its screenshot after the specified delay. Be sure to add sufficient delay in your command so that you could open the desired menu you want to capture.
scrot will save the captured screenshot to theHomedirectory. However, if you want to save it to another location, navigate to that directory usingthe cd command, and then run the screenshot capture command.
3. Screenshot Context Menus on Linux Using Shutter
While both GNOME Screenshot and scrot can effectively capture right-click/context menus on Linux, they aren’t as feature-rich and depend on the delayed screenshot functionality to take screenshots, which can be limiting in some situations. Shutter, on the other hand, is different.
It’s one of thepopular screenshot apps for Linuxand offers a few different ways to capture screenshots of right-click menus, as you’ll see later in the section. Plus, using it, you can also take screenshots of tooltips if there’s ever a need.
First, start by running this command in the terminal to install Shutter:
When the installation is complete, launch Shutter. Since this is the first time you’re running Shutter on your computer, it will take a few seconds to update its plugins. Sit back and let the update finish.
Now, follow these steps to use it to screenshot right-click menus on your computer:
As soon as the screenshot is captured, you’ll see it in a new Shutter tab, and Shutter will also automatically save it to thePicturesdirectory underHome.
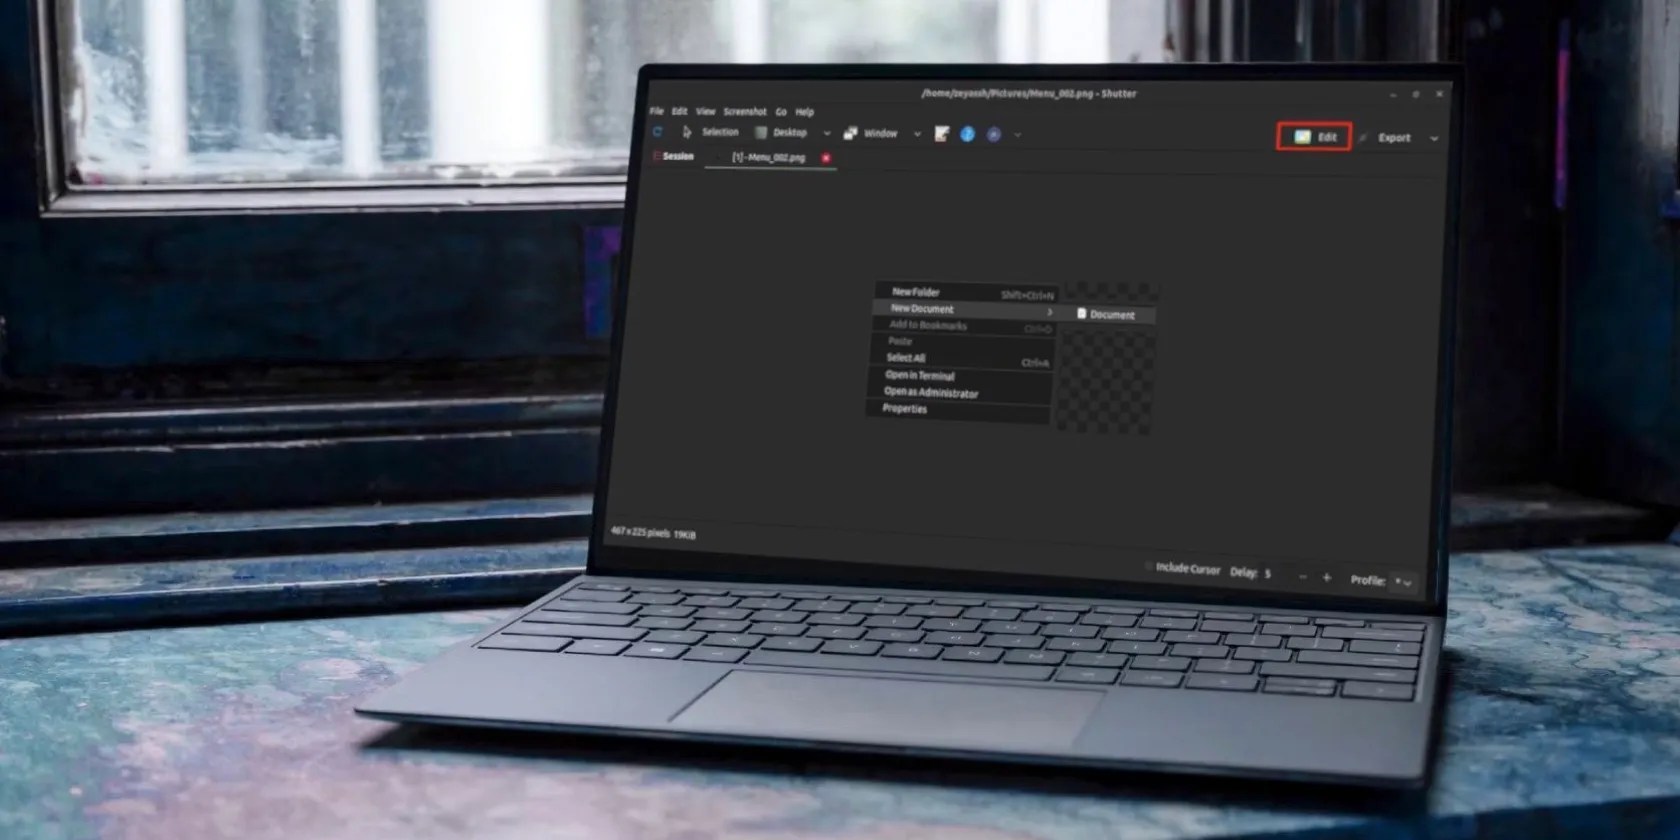
If you wish to edit the screenshot, click theEditbutton in the Shutter window and Shutter will bring up an image editor in a new window with a bunch of annotation and editing options.
Edit or annotate the screenshot as you want, and hit theSavebutton to save it.
As you probably noticed, the screenshot of the tooltip or menu you just captured contains only the tooltip/menu, with the rest of the contents of the window or screen cropped out. While this is useful in many scenarios, there would be use cases when you’d also want the rest of the screen/window’s content in your screenshot.
With Shutter, there’s a way to do this. It involves clicking the entire screenshot of the active window or screen and then editing out the part you don’t need. However, by default, when you try to do this, the screenshot is captured instantaneously, so you can’t activate the tooltip or menu you want to capture.
To work around this, we can add a delay for all our captures. For this, open Shutter and go toEdit > Preferences. SelectMainfrom the left-hand pane and hit the plus (+) button next to theCapture after a delay ofoption underCaptureto increase the delay.
Additionally, if you want to include a cursor in your screenshots, check off theInclude cursor when taking a screenshotoption.
Now, close the tab and go back to the Shutter window. SelectFile > New, and depending on how much of the screen you want to capture, select one of the options amongSelection,Desktop,Active Window, andSelect Window.
If your selection requires you to make any selection, do it, hitEnter, and activate the right-click menu to take its screenshot. Else, Shutter will automatically give you a countdown and ask you to bring up the right-click menu you want to capture.
Easily Capture Right-Click Menus or Tooltips on Linux
With a few different right-click menu screenshot methods at hand, you can now easily capture right-click menus inside programs or other locations on your Linux desktop. And subsequently, you can edit/annotate these screenshots or convert them to another format and share them with others if required.
Although all three tools can capture right-click menus just fine, we recommend Shutter over others for its extensive feature set. However, if you prefer a minimal yet effective tool, scrot is the best way to go.
Besides, in case you don’t need to screenshot right-click menus much, you can have a tool like scrot for when you need to capture right-click menus or something like Flameshot, which offers more advanced screenshotting and annotation options.
Flameshot is a fantastic screenshot utility for Linux-based OSes. Here’s how to install, configure, and use Flameshot to capture screenshots on Linux.
Obsidian finally feels complete.
My iPhone does it all, but I still need my dumb phone.
So much time invested, and for what?
The best features aren’t the ones being advertised.
Your iPhone forgets what you copy, but this shortcut makes it remember everything.
