How to Create an Animated Subscribe Button in DaVinci Resolve
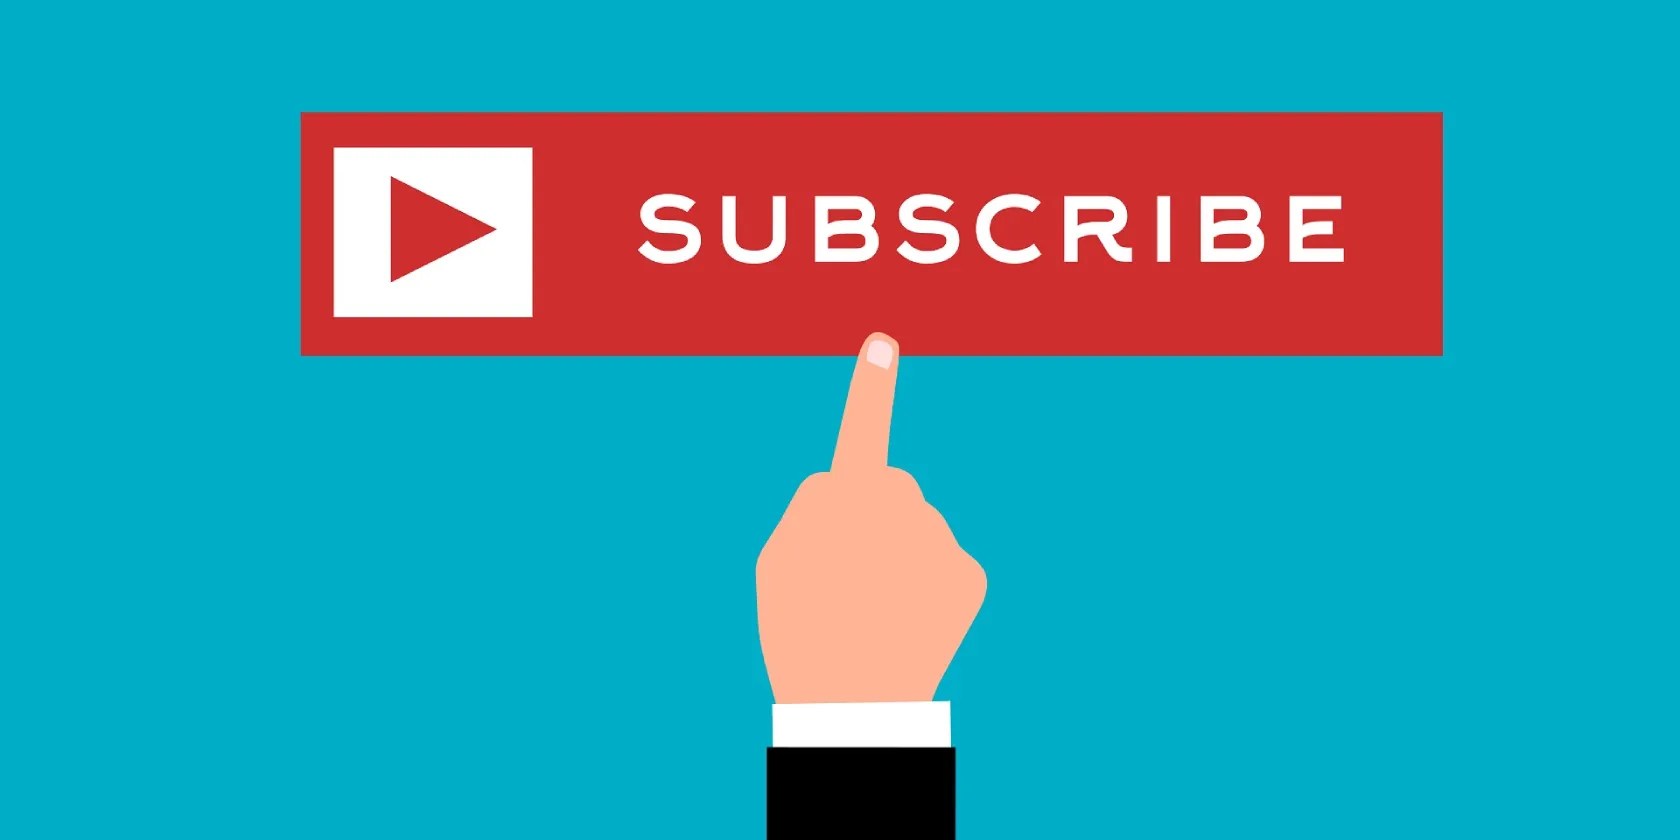
Photo from Pixabay; no attribution
https://pixabay.com/vectors/subscribe-youtube-youtube-channel-7004105/

One goal a YouTuber strives for is to gain as many subscribers as possible—not only does this help gain more views, but it also allows YouTubers to build a community within their own channel. This is why countless YouTubers have a call-to-action in their videos, many times as an animated pop-in and pop-out subscribe button.
Have you ever wondered how to create that button for yourself? Here’s a step-by-step tutorial on how to create an animated subscribe button using DaVinci Resolve.
1. Start on the Edit Page
You’ll want to start on theEditpage—the third icon onDaVinci Resolve’s tab layoutat the bottom of the program.
From here, open theEffectstab on the top left-hand panel, open theToolboxtab, then theEffectstab. From there, drag and drop theFusion Compositioneffect onto the timeline.

Screenshot by Sam Wolfe; no attribution
Before moving on to the next step, verify to edit the clip to how long you would like the entirety of the subscribe button to last.

2. Head Over to the Fusion Page
TheFusionpage is the next icon on the tab layout. You’ll want to click on theClipstab to make sure theFusion Compositionclip is selected, especially if you have other clips on the timeline.
Then close theClipstab—you won’t need that tab open again to create your button. However, you will want theNodesandInspectortabs open.

3. Create the Overall Look of the Button
Above yourNodeswindow, you’ll see a bunch of different icons. Drag and drop theRectanglenode and theBackgroundnode into the Nodes window with your MediaOut1 node.
Your nodes will need to be in this order left to right: Rectangle1, Background1, MediaOut1. Link the three nodes together, square to triangle until a line forms between each node. Look at the image below for reference.
Understanding nodes can be a bit tricky, especially for beginners. However, learninghow to navigate DaVinci Resolve’s node systemwill definitely get you creating even cooler effects with confidence.
4. Choose the Background Color
From here, you’ll want to select theBackground1node and go to theInspectortab. Everything should already be preset for you—all you need to do is pick your color.
There are a couple of ways you can do this. First, you can simply choose your own color if you want.
However, if you want the background color identical to YouTube’s red background, use the eye dropper color tool.
Make sure to have YouTube open on your computer, click on theColorbox in theInspectortab, select the eye dropper icon, and click the eye dropper over the YouTube logo. ClickOK.
5. Change the Shape
After selecting your color, you’ll need to go back to theNodeswindow and click on theRectangle1node, then go back to theInspectortab.
Change theWidthandHeightto your liking using either theInspectortab or by clicking on the corners of the rectangle in the Preview window.
In theInspectortab, adjust theCorner Radiusif you want your button to be a bit softer around the edges.
6. Add the Subscribe Text
Going back to theNodeswindow, drag and drop theTextnode to the line in between theBackground1andMediaOut1nodes. verify the line turns yellow and blue before you drop your Text node. A Merge1 node will appear connecting the Text node.
Click on theTextnode and go back into theInspectortab. In the text box in the Inspector tab, type in the word SUBSCRIBE. Most of the time, the word appears in all uppercase letters to allow the viewers to see it better, but it is up to you how you want to write the text.
Make sure to adjust the size of the text to fit the background.
After your text has been added, you could go back to theRectangle1node to alter the shape until you’re happy with the results.
7. Go Back to the Edit Page for Adjustments
After making sure your subscribe button looks how you want it to, head over to theEditpage to change the size and placement of the subscribe button.
Click on theFusion Compositionclip and then click on theTransformicon on the left-hand side under the Preview window. A box will appear around your subscribe button, and you’ll be able to adjust the size and placement for how you want it to look in your video.
8. Go back to the Fusion Page for Animation
To start the animation process, make sure theFusion Compositionclip is still selected and head over to theFusionpage once again. In the Node window, drag and drop theTransformnode between theMerge1andMediaOut1nodes.
Next, go to the frame rate line below the Preview window and choose what frame you want the button to be at its full size. Make sure the red line is in place on that frame. The example below shows the line at ten frames.
In theInspectortab, click on the diamond next toSizeto add the keyframe. Do not change the size.
Go back to the frame rate line and move the red line to zero frames on the left. Click on the diamond again in theInspectortab and move the size to zero. This will give you the pop-in effect.
Before moving forward, check that the animation works by pressing the play icon below the Preview window.
For the pop-out effect, you’ll do the same thing on the other side of the frame rate line. You’ll want to make sure it’s the same amount of frames for symmetry, though. For example, ten frames for the button to pop in and ten frames for it to pop back out.
9. View Your New Animated Subscribe Button
At last, your new animated subscribe button is done. Make sure to go back to theEditpage to see what the button looks like on your video.
From here, it’s possible to make any adjustments needed beforeuploading your video straight to YouTube from DaVinci Resolve.
Use DaVinci Resolve to Make Yourself a Subscribe Button
It’s definitely a lot of steps, but once you’ve mastered how to make an animated subscribe button, it’ll take no time at all to recreate. You can even create the button in its own DaVinci Resolve project and save it to be used in other videos. The creative options are truly endless with DaVinci Resolve.
Adding transitions to your videos will make for a better viewing experience. It’s easy to achieve with DaVinci Resolve’s premade transitions.
Windows is great, but adding this makes it unstoppable.
Sometimes the smallest cleaning habit makes the biggest mess.
Tor spoiled me forever.
Quality apps that don’t cost anything.
OneDrive is one of the best, but it has a catch.
